Installing wall expansion joint covers might seem like a daunting task, but with the right guidance and tools, it can be a straightforward and rewarding project.
These covers play a vital role in protecting structures from stress caused by thermal expansion, seismic activity, or building movement.
Whether you’re a seasoned professional or a DIY enthusiast, this guide will walk you through the process step by step, ensuring a smooth installation.
Must Read: Top 10+ Best Topcon Laser Levels in Construction and Surveying
Why Wall Expansion Joint Covers Are Important
Before diving into the installation process, let’s briefly explore why these covers are essential:
- Prevent Structural Damage: They absorb movement and prevent cracks or stress fractures.
- Enhance Aesthetics: Modern designs blend seamlessly with interiors and exteriors.
- Improve Safety: Fire-rated or waterproof covers add extra layers of protection.
With these benefits in mind, let’s get started!
Tools and Materials You’ll Need
Gathering the right tools and materials beforehand will save you time and effort:
| Tools | Materials |
|---|---|
| Measuring tape | Wall expansion joint covers |
| Level | Adhesive/sealant |
| Power drill | Anchors and screws |
| Utility knife | Backer rod (if needed) |
| Safety goggles and gloves | Fire or waterproof sealant (optional) |
Pro Tip: Ensure the expansion joint covers match the movement and fire-rating requirements of your building.
Step-by-Step Installation Guide to Installing Wall Expansion Joint Covers
Step 1: Prepare the Joint Area
- Inspect the Joint: Clean the joint area thoroughly to remove dirt, debris, or old sealants.
- Measure Accurately: Use a measuring tape to determine the width and length of the joint. This ensures you cut the covers to the right size.
- Fill the Joint (If Needed): For wide gaps, insert a backer rod to support the sealant.
Common Mistake to Avoid: Skipping the cleaning step can prevent proper adhesion and lead to future issues.
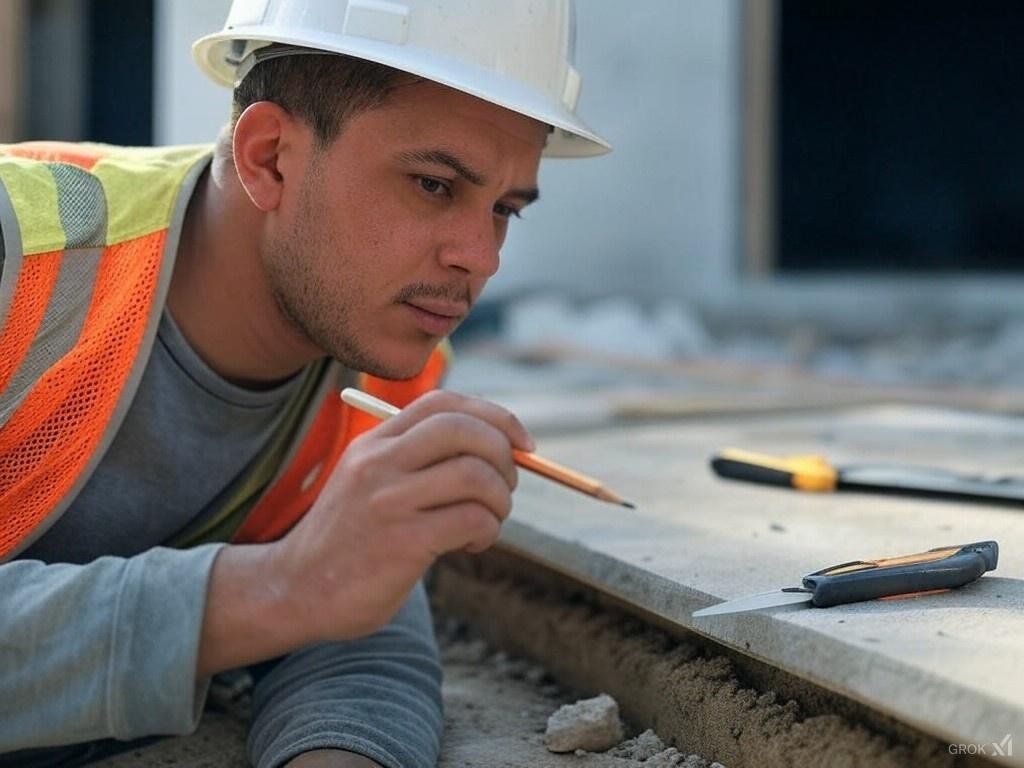
Step 2: Cut the Expansion Joint Cover to Size
- Mark Your Measurements: Mark the dimensions on the cover using a pencil.
- Cut Precisely: Use a utility knife or saw (depending on the material) to cut the cover to fit snugly.
Tip: Double-check your measurements before cutting to avoid waste.
Step 3: Secure the Cover in Place
- Apply Adhesive: Apply a generous amount of adhesive or sealant to the back of the cover.
- Position the Cover: Align the cover carefully with the joint, ensuring it’s level.
- Fasten with Screws: For added security, drill pilot holes and fasten the cover with screws and anchors.
Pro Tip: Use a level to ensure the cover is perfectly aligned for a clean finish.
Step 4: Seal the Edges
- Apply Sealant: Run a bead of sealant along the edges to prevent water or debris from entering.
- Smooth the Sealant: Use a gloved finger or smoothing tool for a neat finish.
Tip: If the joint requires a fire-rated or waterproof sealant, choose a product designed specifically for these purposes.
Step 5: Inspect and Test
- Inspect Your Work: Check for gaps, uneven edges, or loose screws.
- Test the Cover: Gently press on the cover to ensure it’s secure and allows for movement.
Common Mistake to Avoid: Over-tightening screws can restrict the joint’s movement capabilities.
Case Example: Installing Decorative Wall Joint Covers
A homeowner wanted to replace outdated expansion joint covers in their living room with decorative options. By following these steps, they successfully installed sleek, modern covers that complemented their interior design.
The project took 4 hours and cost approximately $150 for materials.
Key Takeaways:
- Proper measurements and cleaning ensured a perfect fit.
- Using a fire-rated sealant provided added safety.
- The new covers enhanced both functionality and aesthetics.
Summary Table of Tips
| Step | Key Tip |
| Preparing the joint | Clean thoroughly for better adhesion |
| Cutting the cover | Double-check measurements |
| Securing the cover | Use a level for alignment |
| Sealing edges | Smooth sealant for a professional finish |
Conclusion
Installing wall expansion joint covers doesn’t have to be complicated.
With this guide, you can confidently take on the project and ensure your building’s joints are both functional and visually appealing. Ready to start?
Gather your tools, follow the steps, and transform your walls today!
FAQs
How do I choose the right expansion joint cover?
Consider factors like movement range, fire rating, waterproofing, and aesthetics. Consult with a supplier or expert if needed.
Can I install expansion joint covers on my own?
Yes, with the right tools and guidance, most homeowners can handle the installation. For complex or high-stakes projects, hire a professional.
How often should I inspect my expansion joint covers?
Inspect them annually to ensure they’re in good condition and functioning as intended.
Read: Top 10 Reasons to Choose PEX Underfloor Heating for Your Home