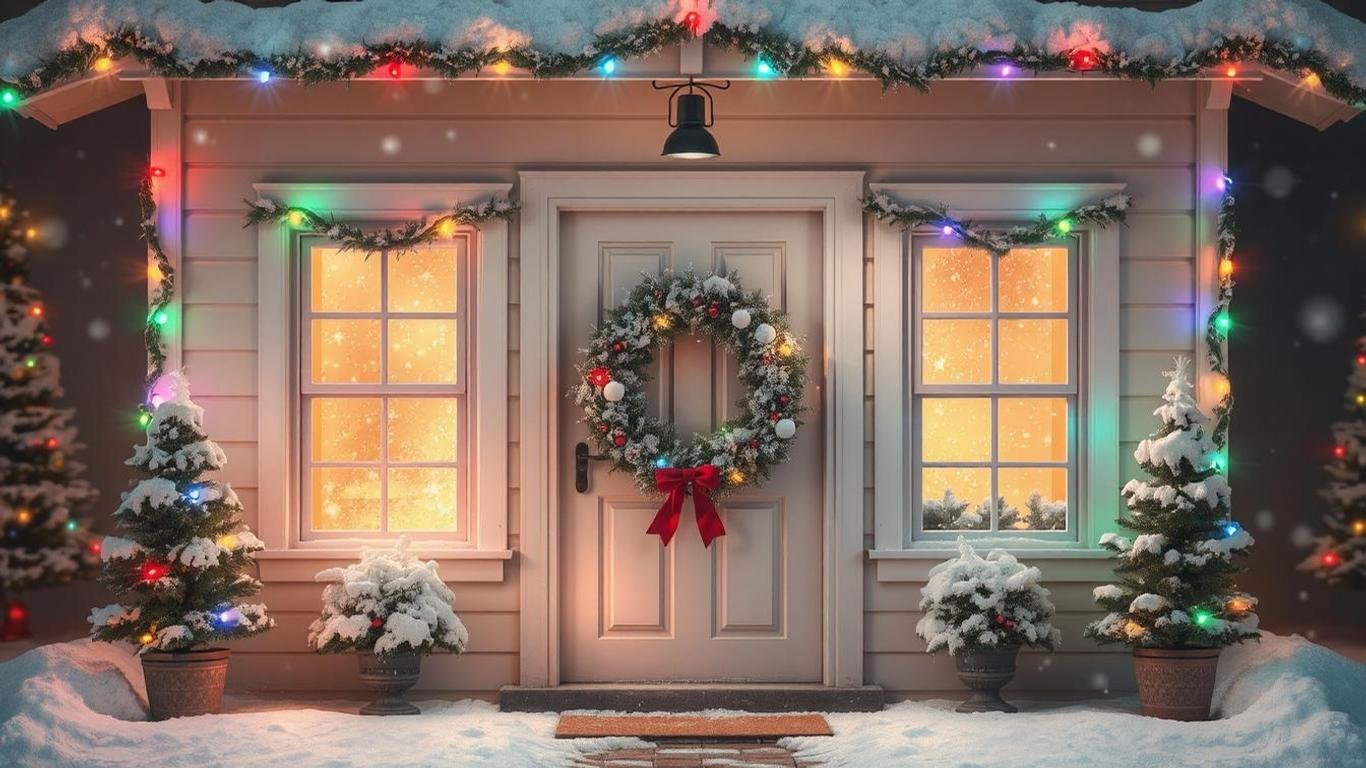
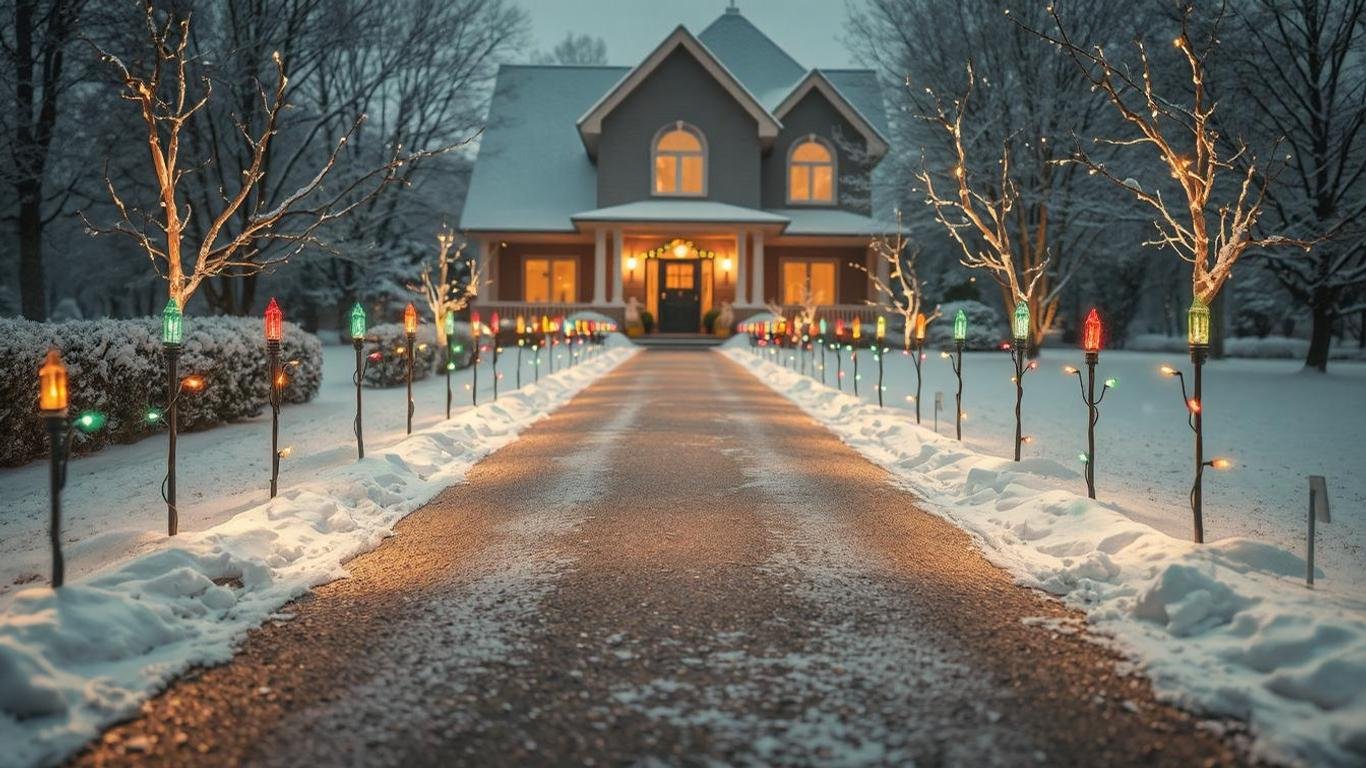
The holiday season is a time for joy, celebration, and of course decking out your home in beautiful Christmas lights. From dazzling rooflines to glowing pathways, hanging Christmas lights can easily transform your house into a festive masterpiece. But for many, it is pretty overwhelming to plan and hang lights yourself. How would you make your display safe, efficient, and visually stunning?
In this post, we will discuss the best way to hang Christmas lights on your house, sharing over 20+ actionable tips and tricks you can use to elevate your holiday décor. From first-time decorator to seasoned pro, this article covers all aspects from selecting the right type of lights to troubleshooting. A little prep and some creativity will get your home to star status in no time.
Let’s get started!
Please Read: Top 5+ Automatic LED Strip Lights for Your Home – Best Amazon Picks
Why Hanging Christmas Lights Matters
Holiday lights have been one of the most loved traditions for several decades, symbolizing warmth, joy, and the spirit of giving.
A well-lit house spreads cheeriness not only to your family but also brightens up your neighborhood. As families drive through streets to admire displays, your lights become part of a larger community celebration.
Beyond aesthetics, lights can speak to your personality and style, too—from timeless whites to statement multicolored designs, the options are limitless.
According to Statista’s 2021 findings, 73% of Americans display Christmas decorations in their home, with outdoor lights being one of the most popular features.
Benefits of Well-Hung Christmas Lights
A thoughtfully planned light display enhances the beauty of your home. Even modest decorations can make your house stand out during the festive season, especially when paired with other outdoor ornaments like wreaths or inflatables.
a. Family Bonding Activity
Hanging lights can be a memorable family activity. Involving children or loved ones in the process fosters togetherness and creates lasting holiday memories.
b. Enhanced Safety
Appropriately installed lights minimize the risk of fire or electrical accidents to ensure your decorations provide cheer, not dangers.
c. Greater Community Spirit
Decorating your house is one certain way to join in building a collective holiday atmosphere across your neighborhood, spreading cheer to everyone around.
20+ Best Ways to Hang Christmas Lights on Your House
1. Use All-Purpose Light Clips for Rooflines
Light clips are a lifesaver when it comes to attaching lights to gutters and shingles. They’re inexpensive, easy to use, and don’t damage your roof. Most clips are designed to hold various light types, including C7, C9, and mini string lights.
How to Use Light Clips:
- Attach the clip to the gutter or edge of the shingle.
- Insert the light into the designated slot on the clip.
- Space clips evenly for a neat and professional appearance.
Pro Tip: Use weather-resistant clips to ensure they hold up against wind and snow.

2. Install Adhesive Hooks Around Windows and Doors
If you want to frame your windows and doors with lights, adhesive hooks are the way to go. They’re perfect for smooth surfaces like wood, vinyl, or metal and are easy to remove after the holidays.
Steps for Application:
- Clean the surface with rubbing alcohol to ensure good adhesion.
- Apply the hooks, spacing them about 12 inches apart.
- Wait 24 hours for the adhesive to set before hanging the lights.
Safety Note: Look for hooks labeled as “outdoor-safe” to prevent damage to paint or siding.
3. Utilize Light Stakes for Pathways and Driveways
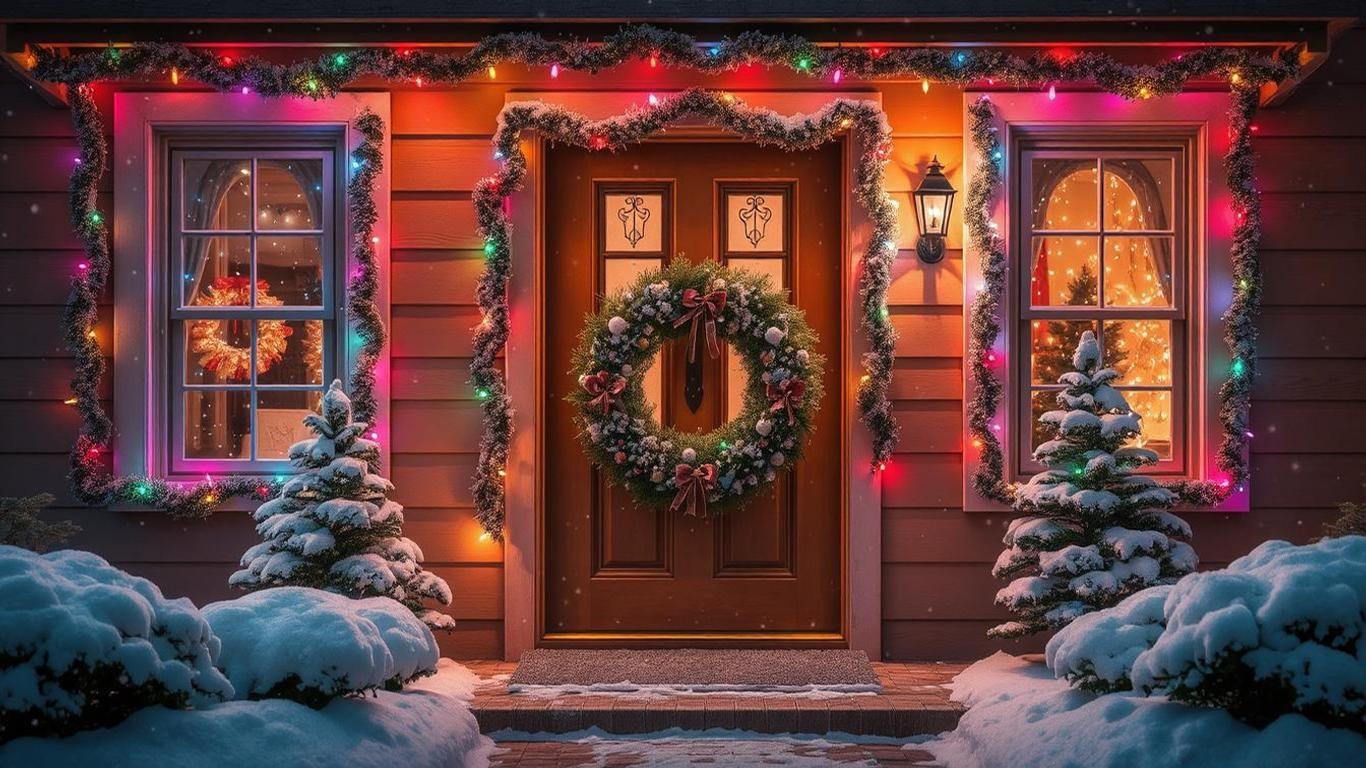
Pathway lights add charm and functionality by guiding visitors to your door. Plastic light stakes are an affordable and effective way to secure lights along sidewalks and driveways.
How to Install Pathway Lights:
- Push the stake into the ground at intervals of 2–3 feet.
- Attach the light string to the stakes using clips or built-in slots.
- Ensure the lights are evenly spaced for a uniform look.
Pro Tip: Choose solar-powered stakes for energy efficiency and easier installation.
4. Use PVC Pipe for Straight Rooflines
If you want razor-straight lines along your roof, consider using PVC pipes as a base for your lights. This method works especially well for homes with tricky angles or long eaves.
How to Set It Up:
- Cut the PVC pipe to match the length of your roofline.
- Attach light clips to the pipe at regular intervals.
- Secure the pipe to the roofline using zip ties or heavy-duty hooks.
This approach allows you to install and remove your lights in sections, making the process faster and easier year after year.
5. Wrap Trees and Shrubs with Net Lights
For a quick and even coverage of trees or shrubs, net lights are a game-changer. These pre-arranged grids of lights save time and ensure consistent spacing.
Steps for Wrapping Trees and Shrubs:
- Lay the net lights flat and drape them over the shrub or around the tree trunk.
- Secure the edges with garden staples or twist ties.
- For taller trees, use a pole to position the lights higher.
Pro Tip: Use warm white net lights for a cozy glow or multicolor lights for a playful vibe.
6. Secure Lights with Zip Ties for Fences and Railings
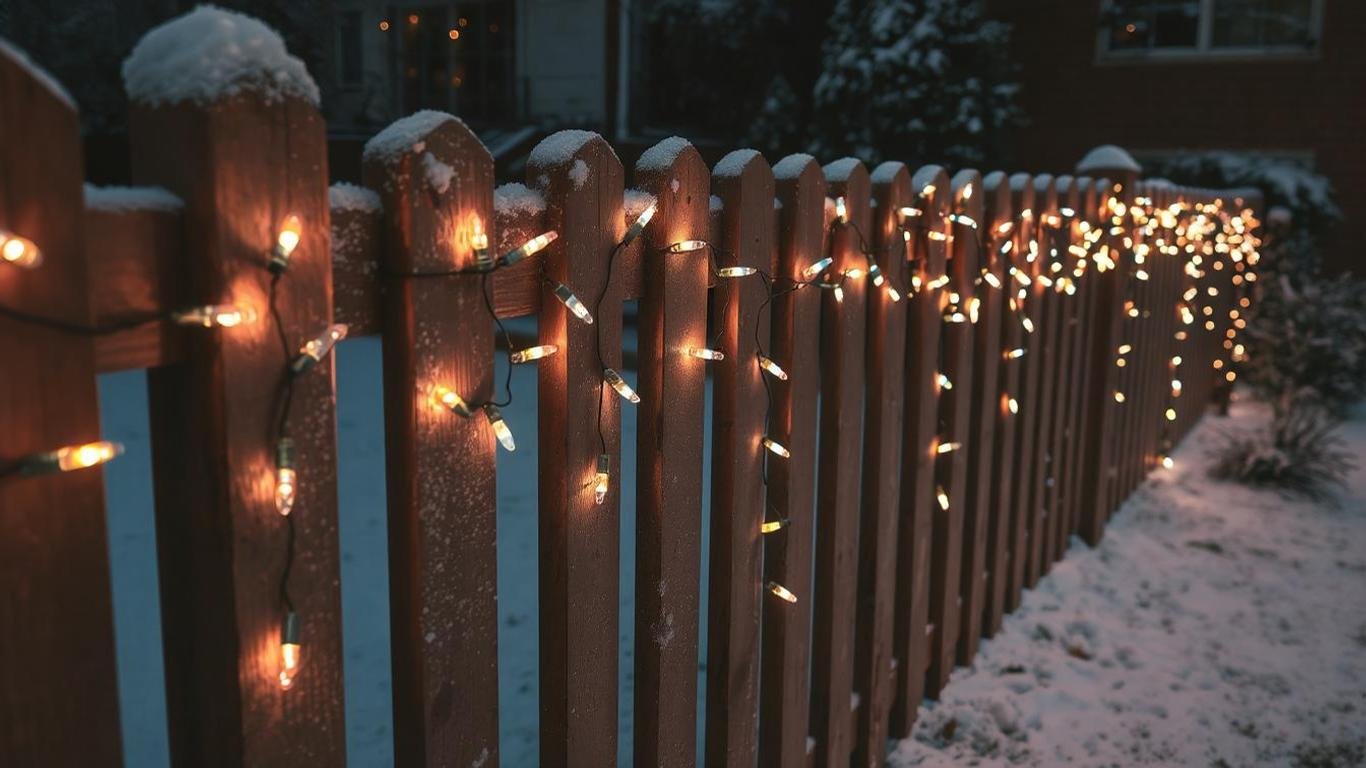
Fences and railings are perfect for displaying string lights, but they require a secure fastening method to prevent sagging. Zip ties are a simple and sturdy solution.
How to Attach Lights with Zip Ties:
- Wrap the string lights around the fence or railing.
- Use zip ties every 12–18 inches to hold the lights in place.
- Trim the excess plastic for a clean finish.
This method works well for both wooden and metal railings and keeps your display looking neat even in bad weather.
7. Use a Ladder Stabilizer for High Areas
Reaching high spots like roof peaks and chimneys can be risky. A ladder stabilizer adds extra safety by keeping your ladder steady and preventing it from leaning against gutters or siding.
Ladder Safety Tips:
- Always place the ladder on a level surface.
- Maintain three points of contact (two hands and one foot) at all times.
- Use a spotter to hold the base of the ladder for added stability.
Pro Tip: Invest in a telescoping ladder for easier storage and versatility.
8. Outline Roof Peaks with Light Strings and Clips
Adding lights to roof peaks is one of the most striking ways to showcase your home’s architecture during the holiday season. However, navigating the steep angles of a roof can be challenging without the right tools and techniques.
Steps for Hanging Lights on Roof Peaks:
- Plan Your Layout: Measure the length of the roof peaks and mark the start and end points. Consider using a different color or type of light for peaks to make them stand out.
- Use Light Clips: Opt for all-purpose or shingle clips designed for sharp angles. These hold the lights securely without causing any damage.
- Secure Lights with Caution: Starting at one end, hook the lights into the clips, following the contour of the roof. Use a ladder stabilizer to access high points safely.
Lighting Tip:
To create a polished look, use C9 or C7 bulbs for roof peaks. Their larger size and brightness make them highly visible from a distance, giving your display a professional finish.
Case Study Example:
“Last year, a homeowner in Colorado combined roof-peak lights with icicle lights for an icy winter wonderland effect. The combination of bright white lights and dangling icicles created a shimmering, snow-kissed aesthetic.”
9. Use Gutter Guards for Enhanced Safety and Efficiency
If your home has gutters, they can double as a convenient anchor for holiday lights. Gutter guards, specially designed for holiday displays, provide a safe and damage-free way to install lights along rooflines.

Why Gutter Guards are a Smart Choice:
- They protect gutters from heavy light strings that may cause sagging.
- They provide even spacing for lights, ensuring a uniform appearance.
- They eliminate the need for nails or adhesives, preserving the integrity of your home.
How to Use Them:
- Purchase gutter guards compatible with your gutter type (seamless, sectional, etc.).
- Clip the lights onto the guard before attaching it to the gutter.
- Slide the guard into place and adjust as needed to maintain alignment.
Bonus: Gutter guards work exceptionally well for hanging icicle lights, as the guard keeps the dangling lights evenly spaced.
Read: 10+ Best Karma Home Flower Lamp to Light Up Your Space
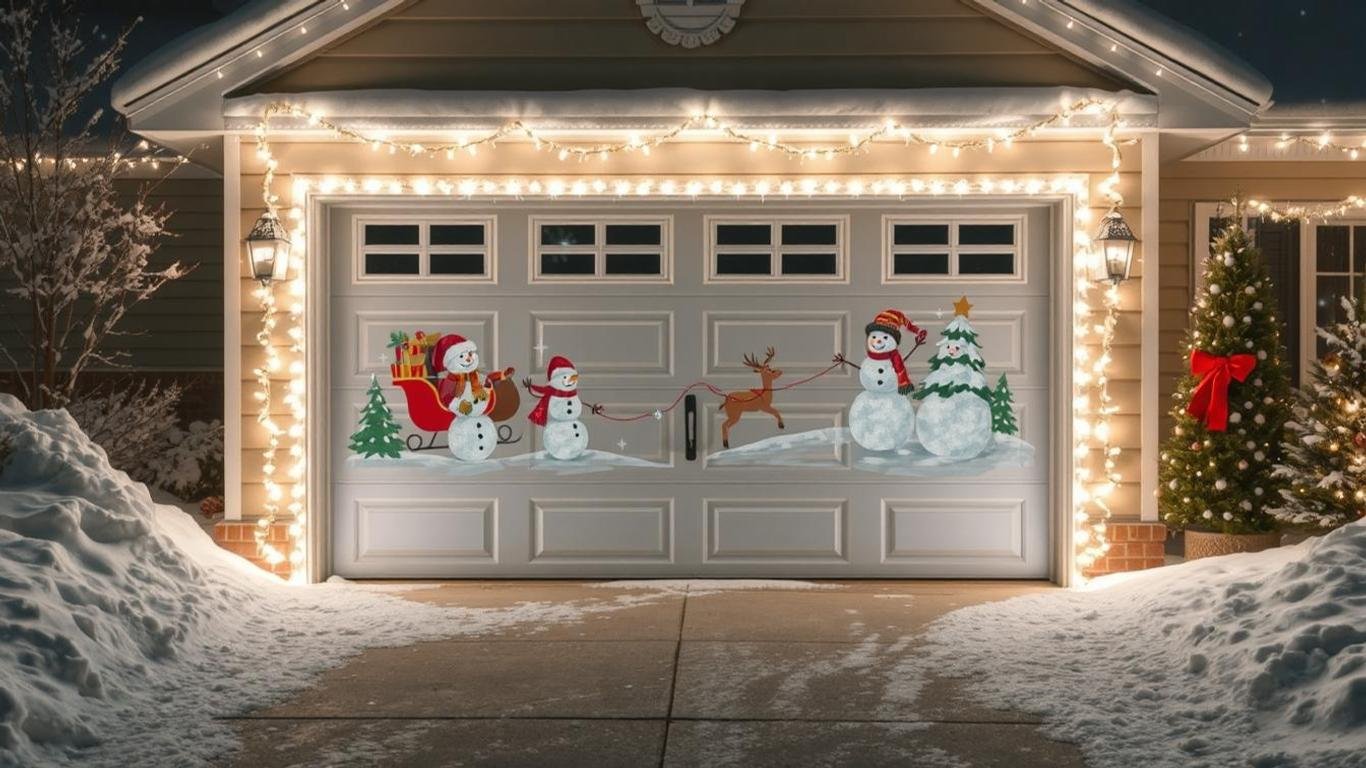
10. Frame Your Garage Door with Light Strings
Garage doors often occupy a large portion of a home’s façade, making them a prime candidate for festive decoration. Framing your garage door with lights creates balance and ensures your display feels complete.
How to Light Up a Garage Door:
- Measure and Outline: Measure the height and width of the garage door to calculate the total length of lights needed.
- Use Adhesive Clips or Hooks: Apply adhesive clips around the edges of the garage door. For heavy-duty setups, consider mounting permanent hooks that blend into the trim.
- Secure and Test: Install the lights, starting at the bottom corner and working your way around. Test the lights once installed to ensure everything is properly connected.
Pro Design Tip:
For an eye-catching effect, pair the garage door lights with a large, illuminated wreath or pre-lit garland above the door.
11. Hang Icicle Lights for a Winter Wonderland Effect
Icicle lights are a holiday classic, mimicking the look of frozen drips along your roofline or balcony. Their dangling strands add dimension and movement to your display.
Steps to Hang Icicle Lights:
- Select the Right Location: Icicle lights look best along rooflines, porches, or balconies.
- Attach with Clips: Use icicle-specific clips to attach the lights to gutters or shingles. Ensure the dangling strands are evenly spaced.
- Add Layers: For a dramatic effect, layer the icicle lights with string lights or rope lights.
Energy-Saving Tip:
Opt for LED icicle lights, which consume less energy and are cooler to the touch, reducing fire risks.
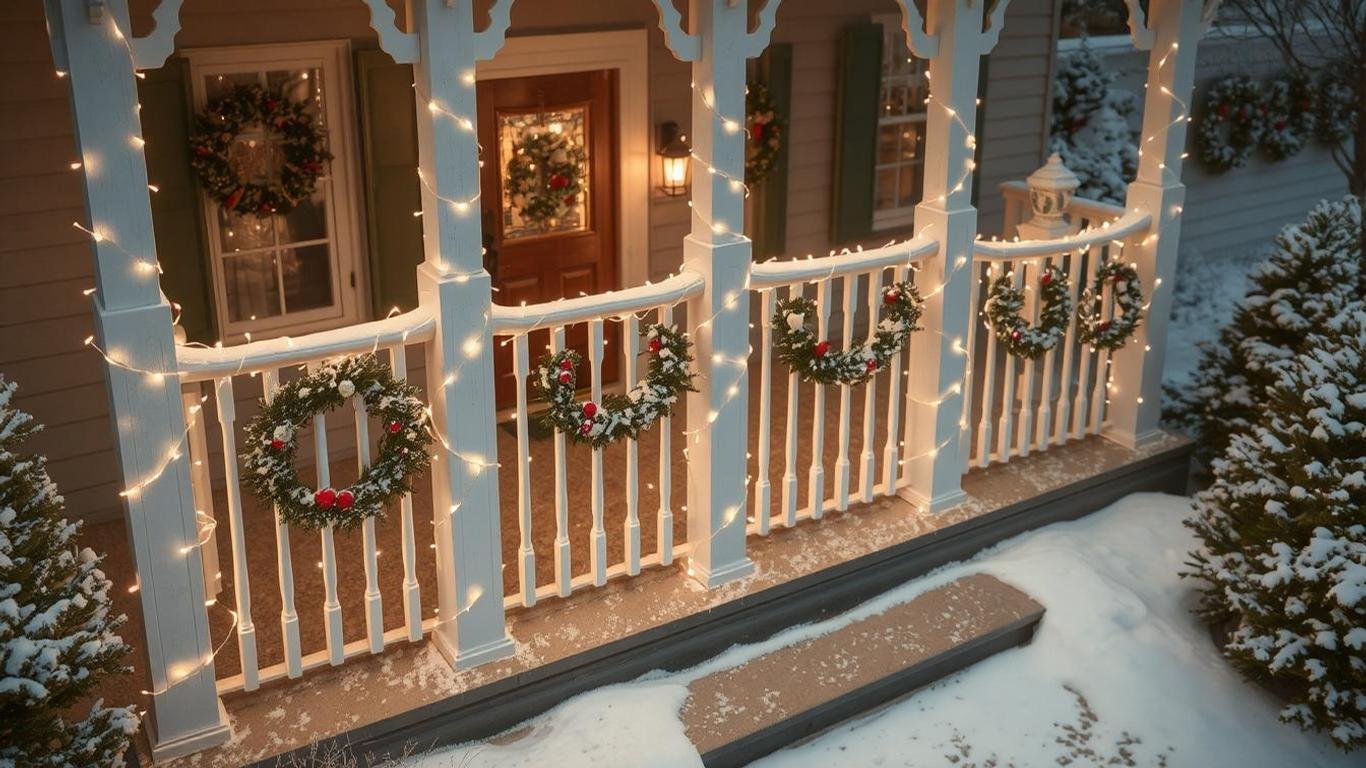
12. Combine Rope Lights with Bannisters and Railings
Rope lights are a flexible and versatile option for decorating banisters, railings, and even outdoor columns. Their smooth, continuous glow creates a modern and elegant appearance.
Why Choose Rope Lights:
- Easy to bend and shape around curved or uneven surfaces.
- Durable and weather-resistant for outdoor use.
- Available in various colors, including festive reds, greens, and whites.
How to Install Rope Lights:
- Wrap the lights tightly around the railing or banister, ensuring no gaps between coils.
- Secure the lights with zip ties or twist ties at intervals.
- Plug in the lights and use a timer to automate their operation.
Design Tip: Add a festive ribbon or garland alongside the rope lights for a layered and textured look.
13. Highlight Eaves with Twinkling Lights
Eaves and overhangs are another excellent spot for holiday lights. Twinkling string lights add a magical, sparkling effect that draws attention to these architectural features.
Installation Tips:
- Measure Carefully: Take the dimensions of the eaves to determine how many strings of lights you’ll need.
- Use Clips for Easy Attachment: Attach lights to the underside of the eave using adhesive clips or nails for a secure hold.
- Go for Twinkling Bulbs: Twinkling lights create a dynamic look, mimicking the glitter of snow.
Pro Tip: If your eaves are painted a dark color, choose warm white or bright LED lights for better visibility and contrast.
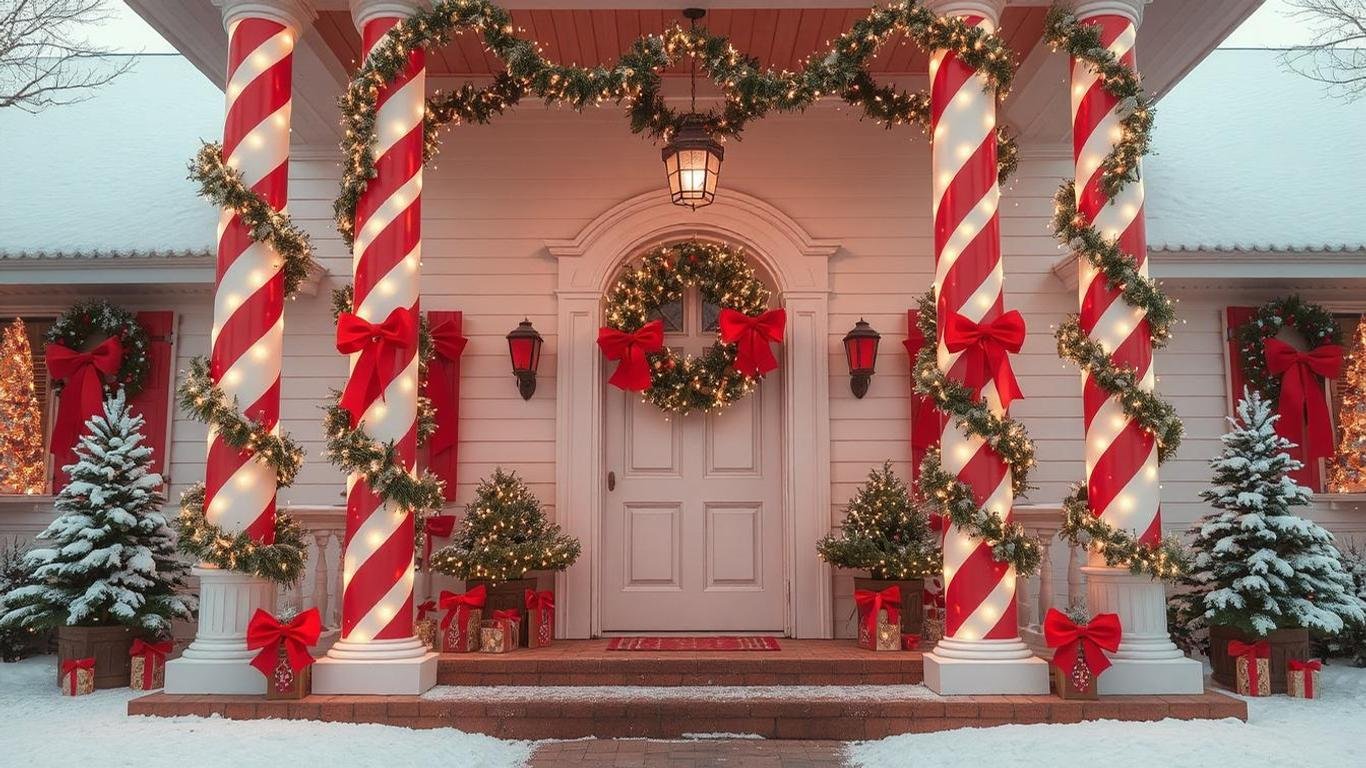
14. Add Flair to Porch Columns and Pillars
Wrap porch columns or pillars in lights to create a bold and festive statement. This method works especially well for homes with prominent entryways.
Wrapping Columns in Lights:
- Start at the base of the column and secure the lights with zip ties or tape.
- Wrap the lights in a spiral motion, spacing each layer evenly.
- Secure the end of the light string at the top with a zip tie or adhesive clip.
Design Bonus:
Incorporate greenery, such as garlands or faux pine branches, to enhance the holiday feel.
15. Illuminate Windows with Perfect Symmetry
Windows are a great canvas for holiday lights, as their symmetrical frames naturally suit the neat alignment of light strings. Illuminating windows creates a warm, inviting glow that enhances your home’s holiday aesthetic from both inside and out.
Steps to Light Up Windows:
- Measure and Plan: Measure the perimeter of each window you plan to decorate. Use this to calculate the total length of lights required.
- Choose Adhesive Clips: Use window-safe adhesive clips to attach the lights directly to the frame. These clips are designed to hold securely without damaging the surface.
- Install with Precision: Start at a bottom corner and work your way around the frame, ensuring even spacing.
Design Pro Tip:
Use warm white lights for windows to create a cozy glow, and combine them with festive window decals or battery-powered LED candles placed on the sill.
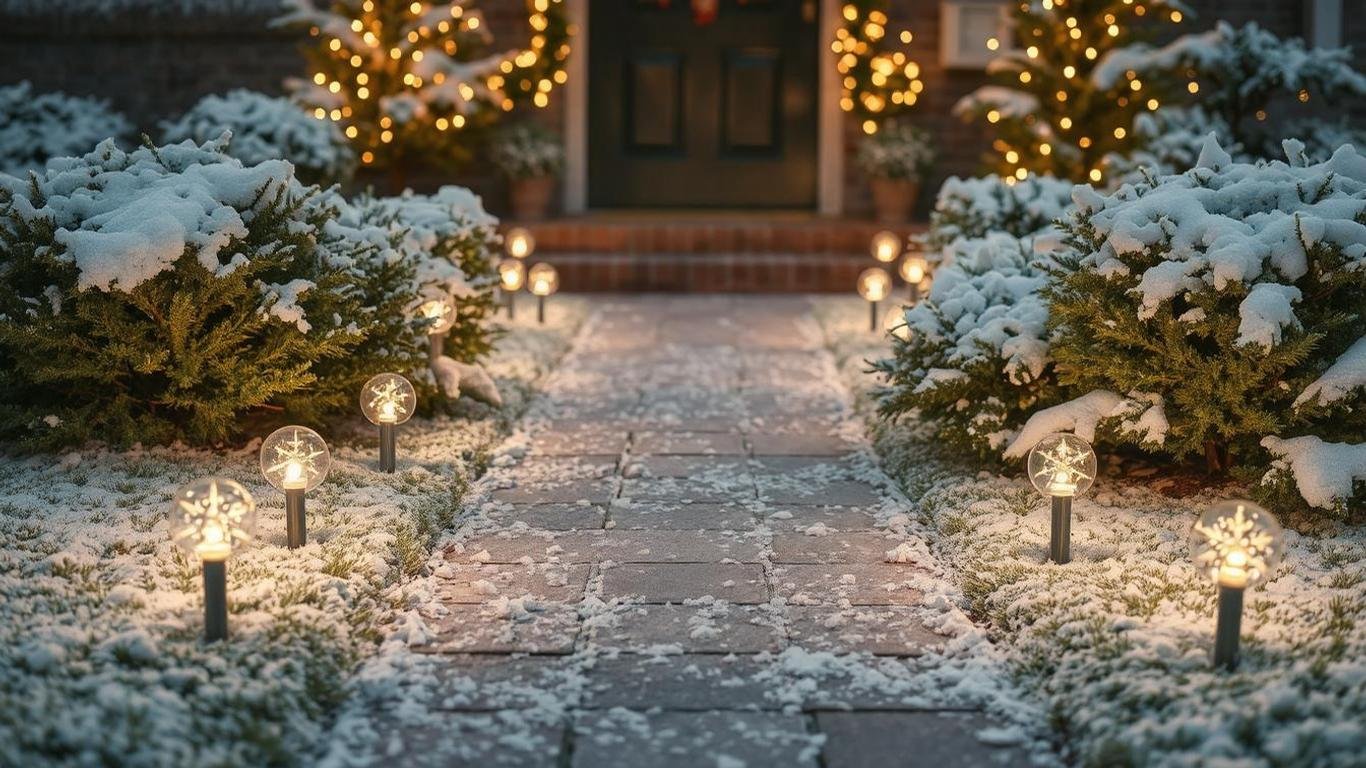
16. Create a Walkway with Ground Stakes and Path Lights
A well-lit pathway not only enhances safety for guests but also adds a charming touch to your holiday display. Highlighting walkways and driveways with lights creates a welcoming entry to your home.
How to Light Up Your Walkway:
- Use Ground Stakes: Purchase ground stakes designed for Christmas lights. These are perfect for holding C9 bulbs or string lights in place along the edges of your pathway.
- Space Evenly: Insert the stakes into the ground, spacing them evenly for a clean look.
- Choose a Theme: Use white lights for a classic look, or alternate red and green bulbs for a festive feel.
Safety Tip:
Avoid running extension cords across walkways. Instead, use waterproof outdoor cord covers or bury cords beneath the ground for a seamless look.
17. Hang Lights Around Fences and Gates
Fences and gates provide a vast surface area for lights, allowing you to extend your festive décor beyond the house itself. Whether you have a picket fence or a wrought iron gate, lights can transform these features into glowing outlines.
Steps to Light Up Fences and Gates:
- Choose the Right Lights: String lights or net lights work well for fences. For gates, consider mini LEDs or rope lights for easier maneuvering.
- Secure the Lights: Attach lights to fence posts or rails using zip ties, hooks, or adhesive clips.
- Add Accents: Enhance the display with bows, wreaths, or faux greenery for a multidimensional look.
Creative Idea:
For wooden fences, weave lights through garlands to create a rustic yet festive vibe.
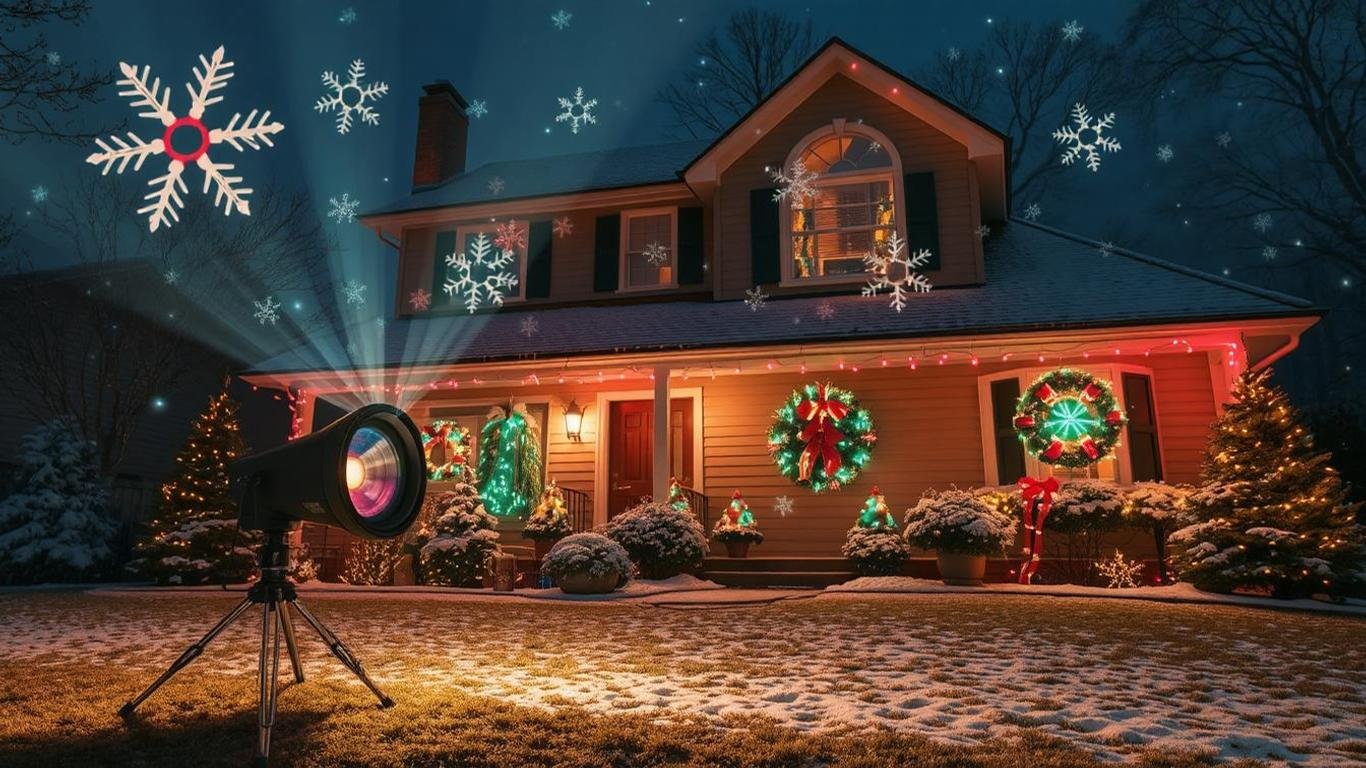
18. Use Projector Lights for a Hassle-Free Display
If you’re short on time or prefer minimal effort, projector lights offer an innovative way to light up your house without climbing ladders or untangling strings of bulbs.
Why Choose Projector Lights:
- Quick and easy setup with no need for clips or hooks.
- Covers large areas with festive patterns like snowflakes, stars, or Santa designs.
- Energy-efficient and durable for outdoor use.
How to Set Them Up:
- Place the projector on a stable surface or stake it into the ground facing your home.
- Adjust the angle and distance to achieve the desired coverage.
- Plug in the projector and enjoy instant holiday magic.
Pro Tip:
For a more immersive look, combine a projector with traditional string lights to add depth to your display.
19. Highlight Trees and Bushes with Net Lights
Transform trees and bushes into sparkling focal points by using net lights. These pre-arranged grids of lights are perfect for wrapping greenery with minimal effort.
How to Use Net Lights Effectively:
- Select the Right Size: Choose net lights that match the dimensions of your trees or bushes.
- Drape and Adjust: Lay the net lights over the greenery, adjusting as needed for even coverage.
- Layer for Impact: Use multiple nets for larger trees or bushes to create a dense, bright appearance.
Energy-Saving Tip:
Opt for solar-powered net lights for an eco-friendly and cost-effective option.
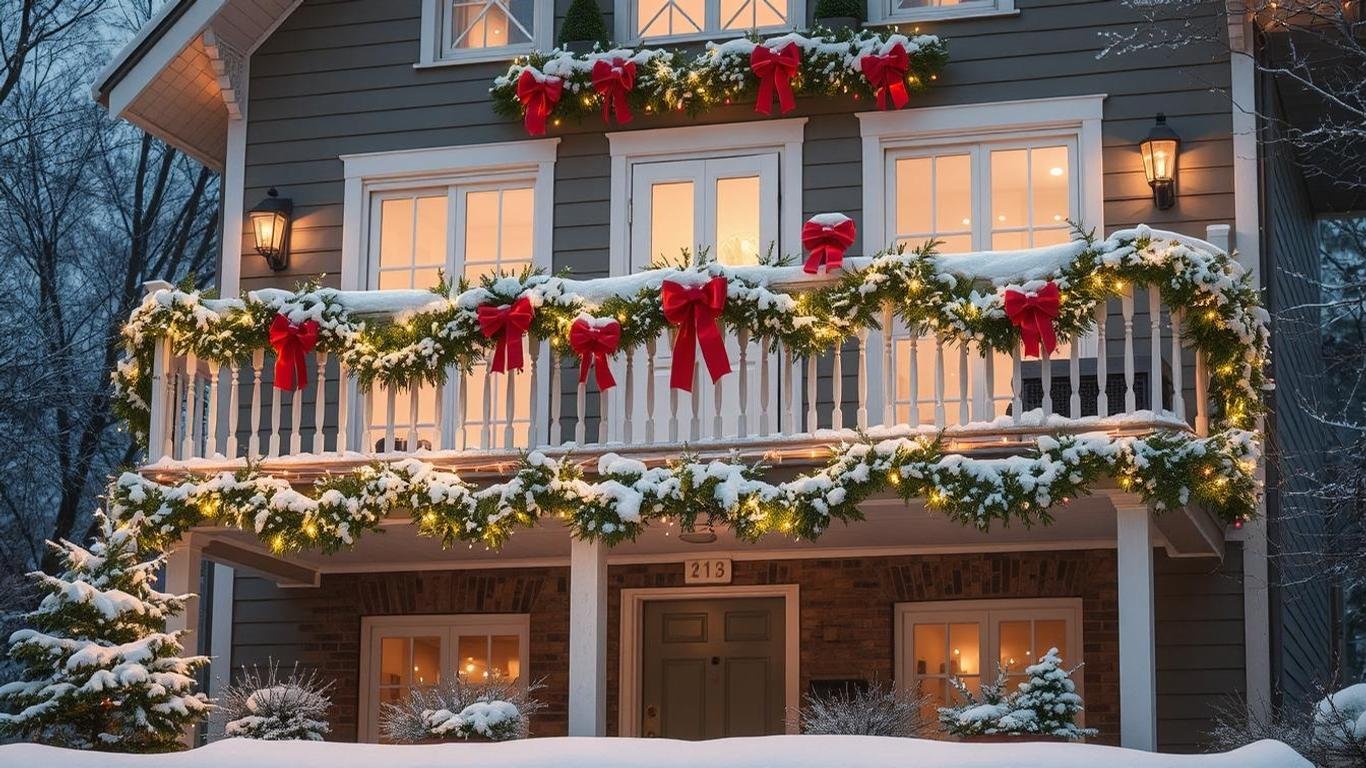
20. Decorate Balconies and Railings with Festive Flair
If your home has a balcony or railing, this is an excellent opportunity to add vertical interest to your display. Wrapping lights around these features draws attention to your home’s unique architecture.
Steps to Decorate Balconies:
- Wrap String Lights: Start at one end of the railing and tightly wrap the lights around the bars or spindles, ensuring even spacing.
- Add Greenery: Incorporate pre-lit garlands for a festive touch. Attach them securely with zip ties or clips.
- Highlight with Accents: Finish the look with bows, ornaments, or hanging stars for extra charm.
Design Inspiration:
Combine warm white lights with red bows and golden accents for a traditional holiday feel, or use multicolored lights for a more playful, vibrant look.
Safety Tips for Hanging Christmas Lights
1. Inspect Lights Before Use
Before one hangs any light, he/she should take a moment to look over lights for damage. Look for frayed wires, cracked bulbs, or broken sockets. Damaged lights can pose fire hazards or cause electrical short circuits.
Quick Tip: Discard and replace faulty strings. Do not try to repair major damage yourself-it may compromise safety.
2. Use Outdoor-Rated Lights for Exterior Displays
Not all lights are intended for outdoor use. Exterior lights are designed to weather rain, snow, and freezing temperatures.
Check Labels: Only lights described as “outdoor-rated” or “water-resistant” should be used outdoors. Using indoor lights outdoors can present a fire hazard.
3. Avoid Overloading Circuits
Plugging too many light strings into one outlet can overload your electrical circuits and lead to outages or even fires.
- Calculate Wattage: Sum up the wattage of all the lights plugged in to a single outlet and make sure it doesn’t jump over capacity on one circuit.
- Use Power Strips with Surge Protectors: They help evenly distribute the load and protect your lights against power surges.
4. Securely Fasten Lights
Unsecured lights may shift, fall, or even blow off in windy conditions, causing damage or injury to both your display and any persons passing nearby.
Best Practices: Employ clips, zip ties, or adhesive hooks developed for holiday lights, but don’t staple or nail through wires. of course.
5. Keep Cords and Connections Dry
Water and electricity are a bad mix. Take care to keep all your extension cords and connections off the ground and away from puddles.
- Use Waterproof Covers: Purchase waterproof electrical covers for plugs and connections that are exposed to the elements.
- Elevate Cords: Place cords on bricks or use cable ramps to prevent contact with wet surfaces.
6. Use a Sturdy Ladder
When decorating high areas, a stable ladder is essential. Wobbly or improperly placed ladders are a leading cause of holiday decorating injuries.
Ladder Safety Tips:
- Always place the ladder on a flat, stable surface.
- Use a spotter to hold the base steady.
- Avoid leaning too far to one side while working.
7. Switch Off Lights When Unattended
Leaving lights on overnight or when away can increase the risk of fire or electrical issues.
Smart Tip: Employ timers or smart plugs so that your lights automatically switch on and off. This is much safer and energy-efficient.
Energy-Efficient Options for Christmas Lighting
Adding festive glow to your home does not have to mean skyrocketing energy bills. With these energy-efficient options, you can enjoy beautiful lights while being eco-friendly, cost-conscious, and enjoying the best of the season.
1. Switch to LED Lights
LED Christmas lights use as much as 90 percent less energy than traditional incandescent bulbs. They also last longer and remain cool to the touch, reducing fire risks.
Benefits of LEDs:
- Lower electricity bills
- Greater durability (up to 25,000 hours of use).
- Available in a wide range of colors and designs.
2. Solar-Powered Lights
Solar-powered lights are another great idea for outdoor displays. These lights charge during the day through sunlight and give light at night without increasing your energy bill.
Where Best Applied:
- Along walkways.
- On trees and shrubs.
3. Invest in Timers and Smart Plugs
Timers and smart plugs are important features that make sure that the lights are on only when they are required, thus avoiding waste of energy.
How to Use Timers:
- Set them to turn lights on at dusk and off before bedtime.
- For smart plugs, use mobile apps to control schedules remotely.
4. Use Fewer Lights Strategically
Instead of covering every inch of your home with lights, focus on key areas such as the roofline, windows, and front yard. Highlighting just a couple of special features can create a real “wow” display using less lights overall.
5. Incorporate Reflective Decorations
Improve your display by adding reflective ornaments and tinsel to increase the brilliance of your lighting. This way, you can achieve a brilliant display with fewer lights.
Pro Tip: Metallic garlands and shiny decorations catch and reflect light to add brilliance without extra energy.
Conclusion on the Best way to Hang Christmas lights on your House
More than just a holiday tradition, decorating your house with Christmas lights is a great way to spread some joy and express your creativity by bringing your home to life with festive cheer. Go ahead and follow these tips, techniques, and safety measures to create a dazzling display that turns heads in your neighborhood while remaining safe and efficient.
Whether one is outlining a roof with precision, wrapping trees with tenderness, or trying out that new lighting technique, it’s the strategic planning and attention to detail that accomplishes it. From energy efficiency LED light usage to keeping any cords and connections secure from accidents, each step will ensure your display shines brightly into the season.
And remember, keeping your lights maintained and troubleshooting some of the common problems is part of the process. A little preparation and periodic checks will save you so much time, effort, and frustration. And when you’re really not sure, just remember: often, simplicity creates the most elegant and impactful displays.
Now it’s your turn to light up your home and create memories that will last for years to come. Happy decorating, and may your holiday season be as bright and magical as your Christmas lights! 🎄✨
Let me know if you’d like any final edits or additional tips!
Frequently Asked Questions About Hanging Christmas Lights
1. How Many Christmas Lights Do I Need for My House?
The number of lights depends on the size of your home and the areas you want to decorate. As a general rule:
- Rooflines: 100–200 lights per 10 feet.
- Trees: 100 lights per vertical foot.
- Bushes: 100–150 lights per bush.
Pro Tip: Always buy 10–20% more lights than you think you need to account for overlap and repairs.
2. What’s the Safest Way to Hang Christmas Lights on My Roof?
The safest method is to use clips or hooks designed for rooflines. Avoid staples, nails, or anything that could damage the shingles or wiring.
3. Can I Use Indoor Lights Outdoors?
No, indoor lights are not built to withstand weather conditions and could become a fire hazard if used outside. Always check the label to confirm lights are outdoor-rated.
4. How Do I Store Christmas Lights After the Holidays?
To keep your lights in good condition:
- Wind them around a storage reel or piece of cardboard to prevent tangling.
- Store them in a cool, dry place.
- Label strings for specific areas (e.g., roofline, windows) to make next year’s setup easier.
5. Are LED Christmas Lights Worth the Investment?
Yes! LED lights are more energy-efficient, last longer, and are safer due to their lower heat output. While the initial cost may be higher, they save money over time on energy and replacement costs.
Must Read: Dimunt LED Floor Lamp Review: Secret to Perfect Lighting You’ve Been Missing!


