Luxury vinyl plank flooring (LVP) has surged in popularity among homeowners seeking a blend of style, durability, and affordability.
With its ability to mimic the look of natural materials while providing excellent resilience, LVP is an ideal choice for various spaces in your home.
This guide will explore everything you need to know about luxury vinyl plank flooring, from its benefits and installation to maintenance tips and cost analysis.
Please Check Out: Top 5 Hardwood Floor Adhesives of 2025: Reviews and Buying Tips
One of the best luxury vinyl plank flooring tiles is:
The Art3d 36-Pack Peel and Stick Luxury Vinyl Flooring Tiles
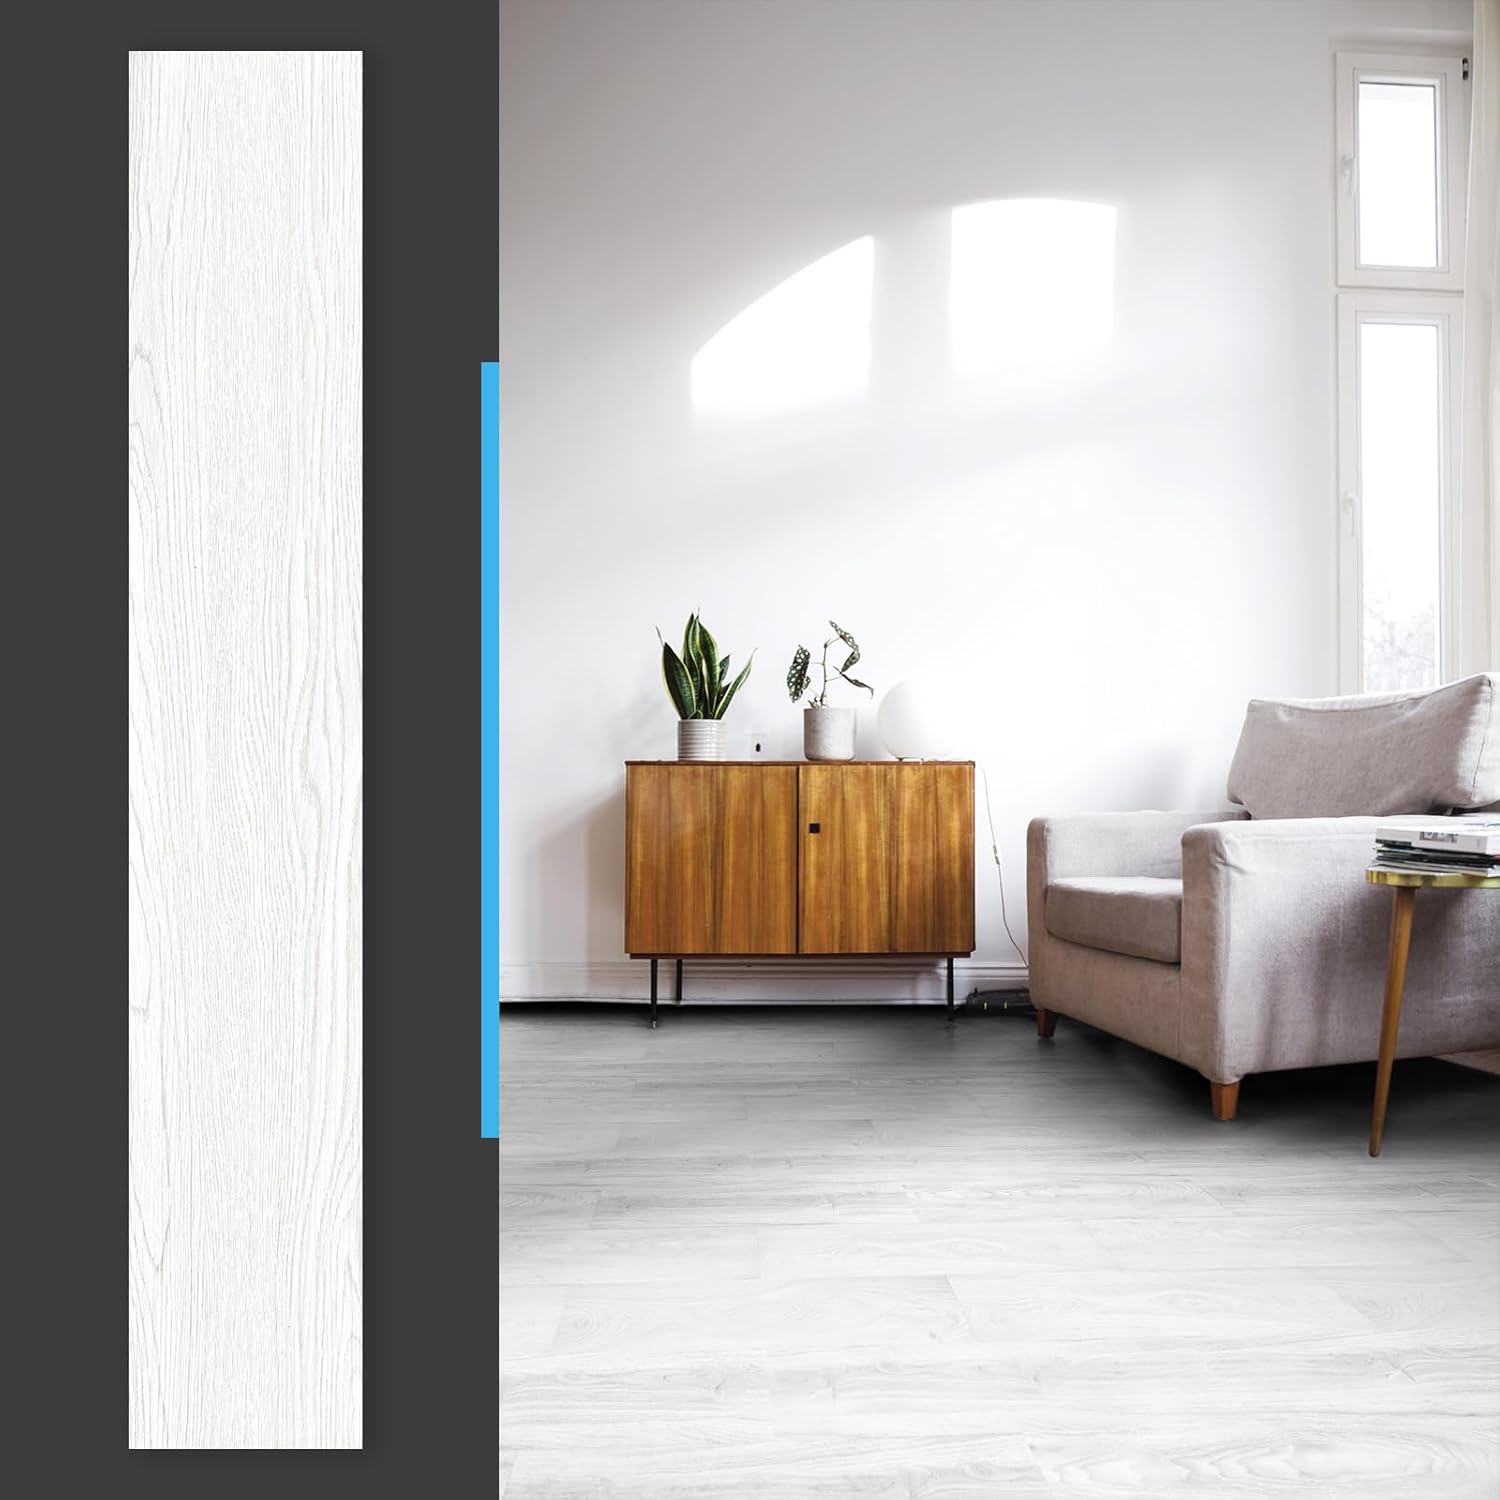
Description:
The Art3d 36-Pack Peel and Stick Luxury Vinyl Flooring Tiles offer an easy DIY solution for homeowners looking to enhance their space with stylish, wood-look flooring. With a natural aesthetic and user-friendly installation, these tiles are perfect for various applications, including kitchens, bedrooms, and bathrooms.
| Features | Pros | Cons |
|---|---|---|
| Size: 36 x 6 x 0.1 inches | Easy to install—just peel and stick! | May not adhere well on uneven surfaces. |
| Color Options: Grey Ash, Aged Wood, and more | 100% waterproof, making it ideal for bathrooms and kitchens | Limited color range compared to other brands. |
| Material: Vinyl | Durable and resistant to scratches and wear | Some users may prefer a more authentic wood feel. |
| Versatile: Can be used on walls, ceilings, and cabinets | Offers a cohesive look throughout your space | It requires extra adhesive for certain applications. |
| Customer Service: 24/7 support and 2-year warranty | Timeless charm with natural wood finishes | Installation requires careful alignment for best results. |
Price: $89
Rating: 4.4 out of 5 stars (1,721 ratings)
What’s the trend about this luxury vinyl plank flooring?
Luxury vinyl plank flooring is a high-quality flooring option made from multiple layers of synthetic materials designed to imitate the appearance of hardwood, stone, and other natural surfaces.
Unlike traditional laminate or sheet vinyl, LVP consists of individual planks that interlock, providing a more realistic look and feel.
Composition and Types
LVP typically consists of four main layers:
- Wear Layer: A transparent, protective top layer that resists scratches and stains.
- Design Layer: A high-resolution photographic print that gives LVP its realistic appearance.
- Core Layer: A durable layer that provides strength and stability, often made from PVC or composite materials.
- Backing Layer: The bottom layer that offers additional support and cushioning.
There are various styles available in the market, including:
- Wood-look: mimics the grain and texture of natural wood.
- Stone-look: Replicates the appearance of stone tiles, adding elegance to any room.
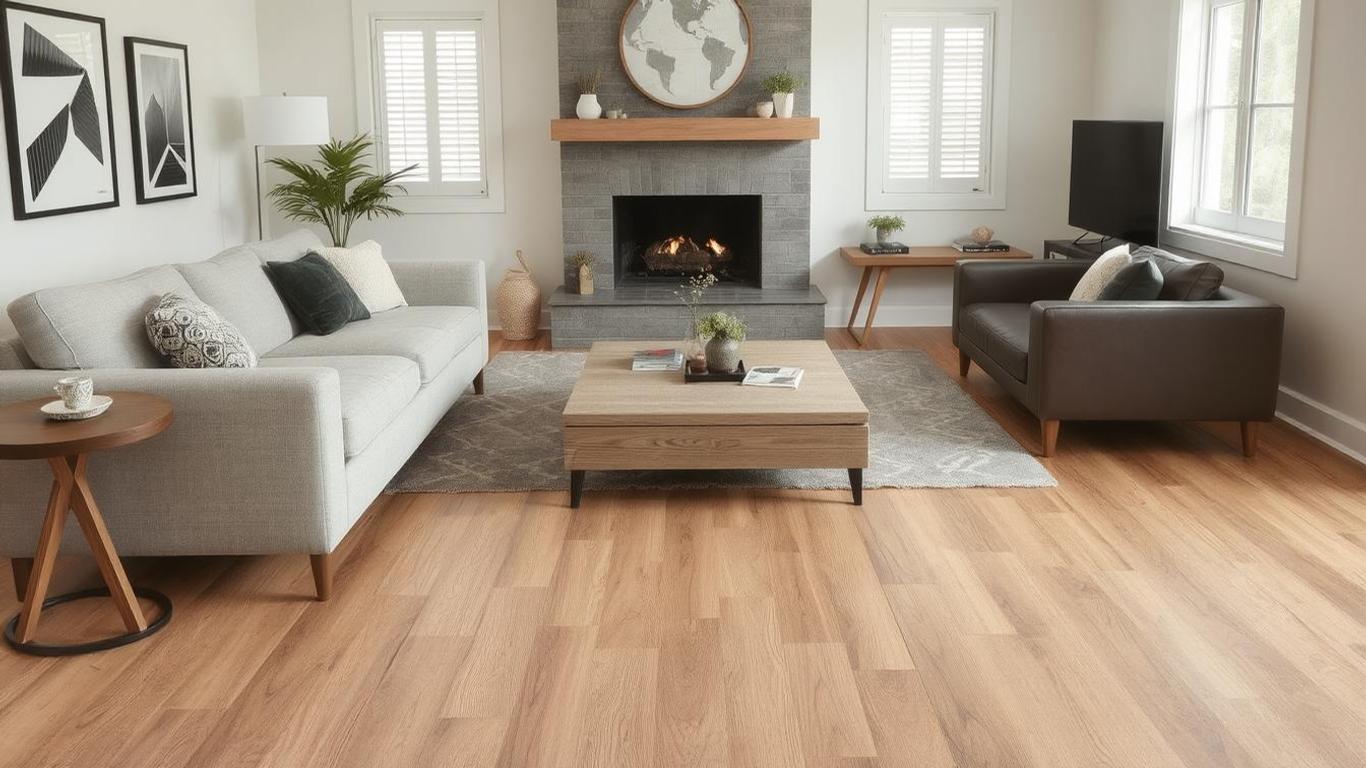
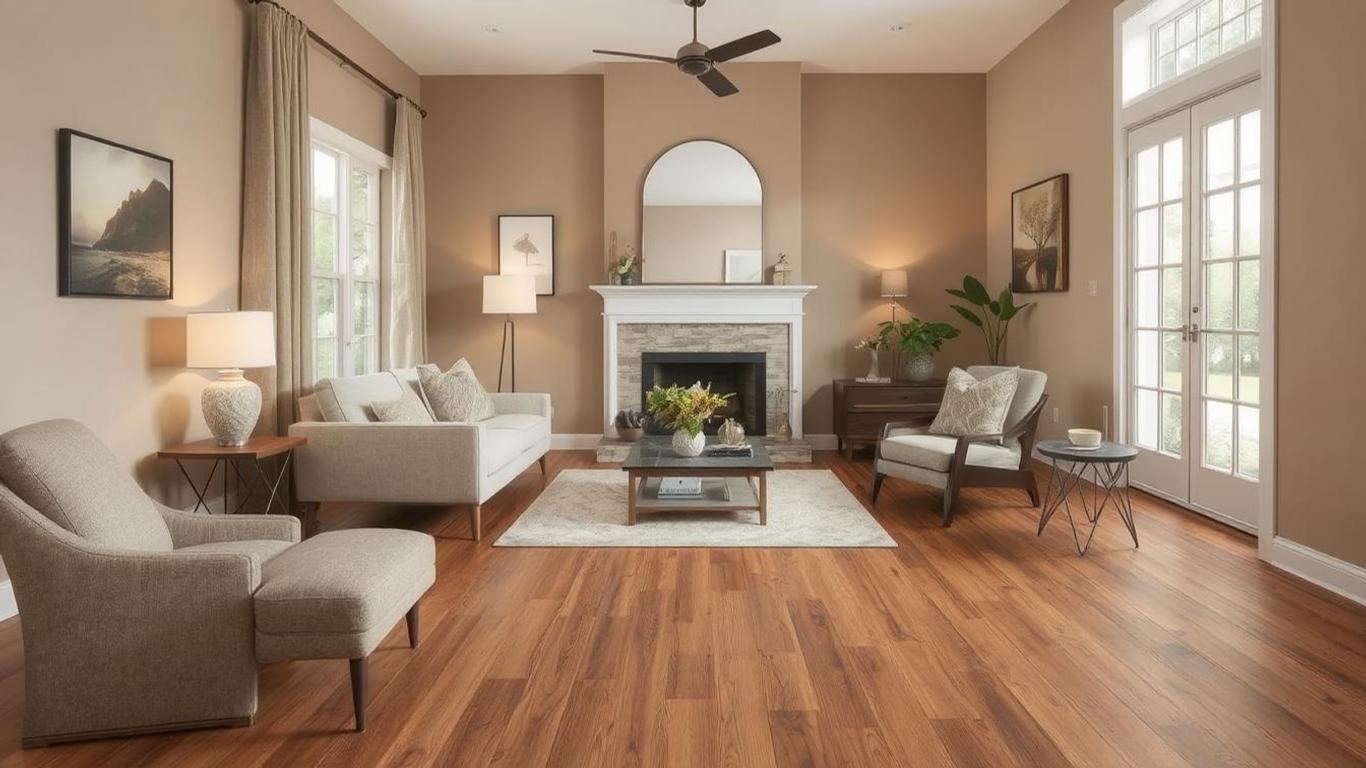
Benefits of Luxury Vinyl Plank Flooring
a.) Waterproof Features
One of the standout attributes of luxury vinyl plank flooring is its waterproof nature. Many LVP products are designed to withstand spills and moisture, making them ideal for areas prone to wetness, such as bathrooms and kitchens.
This feature sets LVP apart from traditional hardwood, which can warp or swell in humid environments.
b.) Cost-Effective
When considering the luxury vinyl plank flooring cost, you’ll find it generally ranges from $3 to $7 per square foot, depending on the brand, style, and thickness.
Compared to hardwood or ceramic tile, LVP offers a budget-friendly solution without sacrificing style or durability. Plus, the ease of installation can save on labor costs if you choose to DIY.
c.) Aesthetic Appeal
Luxury vinyl plank flooring is available in an array of designs, including the increasingly popular stone-look options that can elevate the aesthetic of any room.
With advancements in printing technology, LVP can convincingly replicate the appearance of natural materials, allowing homeowners to achieve the desired look without the associated costs.
Step-by-step Installation Guide for Luxury Vinyl Plank Flooring
Installing luxury vinyl plank (LVP) flooring can transform your space while providing durability and style. Follow this comprehensive guide to ensure a successful installation.
Step 1. Plan Your Flooring Layout
- Start on a Visible Wall: Begin your first row along the most visible wall, typically the one you see first when entering the room.
- Work Outward: Continue laying rows across the room toward the entryway.
- Stagger the Rows: To achieve a natural look, stagger the end joints by at least 6 inches from row to row.
Step 2. Remove Trim and Molding
- Remove Baseboards and Molding: Carefully take off baseboards, shoe moldings, and any other trim touching the floor.
- Use a pry bar; place a thin board behind it to protect the wall.
- Leave door frame molding in place, but undercut it with an electric multi-tool for a clean finish.
- Tip: If you plan to reuse molding, remove any brad nails by pulling them out from the back with pliers.
Step 3. Prepare the Floor
- Ensure a Smooth Surface: Sand down any high spots to create a flat surface.
- Address SsubfloorIissues
- For concrete subfloors, fill cracks or divots with a concrete patch product.
- Use a liquid floor-leveling compound for depressions and allow it to dry thoroughly before proceeding.
Step 4. Test-Fit the First Row of Planks
- Alignment: Lay the first row of planks along the wall to visualize the layout. Aim for equal lengths on both ends.
- Leave Expansion Gaps: Maintain a 1/4-inch gap at the wall and ends. Use spacers to keep this gap consistent.
Step 5. Cut Planks to Size
- Cutting Technique: Use a carpenter’s square and utility knife to cut planks.
- Run the knife lightly across the face multiple times before snapping.
- Fold the plank back to complete the cut if necessary.
Step 6. Attach the Planks
- Interlocking System: Connect planks edge-to-edge and end-to-end using the click-lock system.
- Lay one plank flat on the subfloor and insert the next plank into its groove at an angle, then fold it down to lock it in place.
- Staggering: Ensure that end joints are staggered by at least 6 inches as you continue across the floor.
Step 7. Cut for Protrusions
- Obstacle Fitting: Use a utility knife or tin snips to cut planks for door frames or floor ducts.
- Fitting Technique: Attach the plank to the adjoining plank while holding it at an angle, then fold it down to lock it into place.
Step 8. Cut and Fit the Final Planks
- Final Row Adjustments: Trim the last row of planks lengthwise to fit, ensuring a 1/4-inch gap.
- Joining: Use a flooring pull bar to snugly fit the final narrow plank against the previous row.
Step 9. Install Trim Moldings
- Reattach Baseboards: Use an electric brad nailer or manually nail them back in place. Consider replacing damaged trim for a fresh look.
- Tip: A nail set can recess nail heads for a cleaner finish.
Step 10. Maintenance Tips for Longevity
- Cleaning: Avoid excessive water; use a lightly damp mop for cleaning.
- Routine Care: Regularly sweep or dry mop to prevent dirt buildup.
- Avoid Abrasives: Steer clear of harsh cleaning products that can damage the surface.
Check out some of the most featured tiles here…
Professional Installation
If you’re unsure about DIY installation, hiring a professional can be a wise choice. Costs for professional installation can range from $2.50 to $6 per square foot, depending on the complexity of the job and your location.
Cost Analysis
When assessing the luxury vinyl plank flooring cost, it’s essential to consider both the material and installation costs. Here’s a breakdown:
| Item | Cost per Square Foot |
|---|---|
| Luxury Vinyl Plank (LVP) | $3 – $7 |
| Professional Installation | $2.50 – $6 |
| Total Estimated Cost | $5.50 – $13 |
When shopping for LVP, major retailers like Home Depot and Lowe’s often provide competitive pricing and a variety of options to choose from.

Where to Buy Luxury Vinyl Plank Flooring
Local Options
To find luxury vinyl plank flooring near you, consider visiting local home improvement stores, flooring specialty shops, or showrooms. This allows you to see and feel the product before making a decision.
Online Retailers
For those in Canada, several online retailers offer a wide selection of LVP. Websites like Amazon and Wayfair provide various brands and styles, allowing you to compare prices and reviews before purchasing.
Comparing Luxury Vinyl Plank Flooring with Other Options
Vinyl vs. Laminate
When deciding between luxury vinyl plank flooring vandlaminate, it’s essential to consider the differences in durability, water resistance, and aesthetic appeal. LVP tends to be more durable and water-resistant, while laminate can be less expensive but often lacks the realistic look of LVP.
Best Luxury Vinyl Flooring Brands
Some of the best luxury vinyl plank flooring brands include:
- LifeProof: Known for its waterproof features and durability.
- SShaw offersa wide variety of styles and textures.
- Cali: Renowned for eco-friendly options and high-quality materials.
Maintenance and Care
To ensure your LVP flooring lasts for years, follow these maintenance tips:
- Regularly sweep or dry mop to remove dirt and debris.
- Use a lightly damp mop for cleaning; avoid excessive water.
- Utilize non-abrasive cleaning products to prevent damage.
Reviews and Recommendations
When selecting luxury vinyl plank flooring, consider reading customer reviews and testimonials. Look for products that meet specific needs, such as waterproof options for homes with pets or children.
Conclusion
Luxury vinyl plank flooring offers a versatile and practical solution for homeowners seeking style and durability.
By understanding the benefits, installation process, and maintenance requirements, you can make an informed decision that suits your lifestyle and budget. Ready to transform your space?
Visit your local flooring retailer or explore options online today!
Top 5 Hardwood Floor Adhesives of 2025: Reviews and Buying Tips